

Rolling a joint is one of those skills that looks easy until you are sitting there with a torn paper, half your flower on the table, and something that looks more like a sad noodle than a joint. Good news: everybody starts there. The steps are simple, and after a handful of tries your hands figure it out on their own.
This is the way our budtenders teach it across the counter at Lit. Take your time with it. Nobody gets graded.
What You Need Before You Start
You only need four things, and you probably have most of them already.
First, flower. A gram is a comfortable amount for a standard 1 1/4 size paper, and a little less is fine while you are learning, since an underfilled joint is easier to roll than an overstuffed one. If you are not sure what to pick, our strain library is a good place to read up before you come in.
Second, rolling papers. Thin papers burn cleaner but are harder to handle. If you are brand new, a slightly thicker paper gives you more room for mistakes.
Third, something to make a crutch, which is the small cardboard tip at the mouth end. Filter tip booklets work great. In a pinch, a strip of thin cardboard does the job.
Fourth, a grinder. You can break flower up by hand, but a grinder gives you an even, fluffy grind that rolls and burns much more evenly. If you want to know why that matters, we wrote a whole piece on why you should grind your flower, and if you are grinder-less tonight, here is how to grind without one.
A clean, flat surface helps too. A rolling tray is nice, but a magazine or a clean plate works fine and catches what falls.
Step 1: Grind Your Flower
Grind until the flower is broken into small, even pieces without turning it into powder. Too coarse and you get lumps that make the joint burn unevenly. Too fine and it packs tight and pulls hard. Pull out any stems you find, because they poke holes in the paper.
Step 2: Make the Crutch
The crutch keeps flower out of your mouth, gives the joint a firm end to hold, and makes rolling a lot easier because you have something solid to roll around.
Take your strip of cardboard and make two or three small accordion folds at one end, about the width of a fingertip. Then roll the rest of the strip around those folds until it is roughly as thick as you want the joint to be. A crutch that is too fat will make a lumpy joint, and one that is too skinny will slide around.
Step 3: Load the Paper
Hold the paper with the glue strip at the top edge, facing you, and the crease running down the middle. Set the crutch at one end of the crease. Now sprinkle the ground flower along the crease, spreading it evenly from the crutch to the far end.
People often load a little more toward the far end than near the crutch, which gives you the classic cone shape. For a straight joint, keep it even. Either way, do not overfill. A moderate amount rolls better than a heap.
Step 4: Shape It
This is the part that takes practice. Pick the paper up by both ends with your thumbs and index fingers, and gently roll the flower back and forth between your fingers. You are not trying to seal anything yet. You are just shaping the flower into a firm, even cylinder inside the paper.
Spend a little time here. Most lumpy joints come from rushing this step.
Step 5: Tuck and Roll
Once the shape feels even, it is time to tuck. Using your thumbs, push the edge of the paper without the glue strip down and around the flower, tucking it under the cylinder. Start at the crutch end, since the crutch gives you a firm edge to tuck against, then work your way along to the other end.
Once the edge is tucked all the way down, roll the joint upward with your thumbs, letting the paper wrap around itself until only the glue strip is showing.
If the paper slips out of the tuck, do not panic. Unroll it a little, reshape, and tuck again. This is the step where everyone fumbles at first.
Step 6: Seal It
Lightly lick the glue strip, just enough to make it tacky, not soaking wet. Then roll the rest of the way and press the seam down along the full length of the joint. Run your finger along it once more to make sure it is stuck.
Step 7: Pack and Twist the End
Use something thin, like the end of a pen or a pick, to gently pack the flower down from the open end. Then add a pinch more flower if there is room, and twist the tip closed. That twist keeps everything in place until you light it.
How to Light and Smoke a Joint Evenly
Lighting matters more than people think. Hold the flame just below the twisted tip and rotate the joint slowly so the end catches all the way around before you pull on it. A slow, even light helps keep the joint from canoeing, which is when one side burns faster than the other and runs up the paper.
If it does start to canoe, lick a fingertip and touch the paper on the side that is burning too fast. That slows it down so the other side can catch up.
Take slow, gentle pulls. A joint is not a race, and pulling hard makes the burn hot and harsh. If you like a cleaner flame than a butane lighter, we wrote about using hemp wicks instead of lighters.
And a quick reminder for our visitors: in Colorado, using cannabis in public places is not allowed, including sidewalks and parks. Our page on marijuana law in Colorado covers the basics.
Common Rolling Mistakes and Easy Fixes
A joint that is too loose usually means not enough shaping time in Step 4. It will burn fast and fall apart. Next time, roll the flower back and forth a few more times before tucking.
A joint that is too tight and hard to pull on usually means the flower was ground too fine or packed too hard. Grind a little coarser and go easier when you pack the end.
If the paper keeps unrolling, the glue strip may have gotten too wet or not wet enough. Light and tacky is the goal.
If it burns unevenly from the start, the grind was probably uneven or there was a lump near the tip. A good grinder fixes most of this.
Joint, Blunt or Spliff?
A joint is flower rolled in a thin paper. A blunt uses a tobacco leaf wrap, and a spliff mixes cannabis and tobacco in a paper. They each smoke differently. If you want the full breakdown, read our guide to the difference between blunts, joints and spliffs, and once you have the joint down, our post on how to smoke a blunt is a natural next step.
Not in the Mood to Roll?
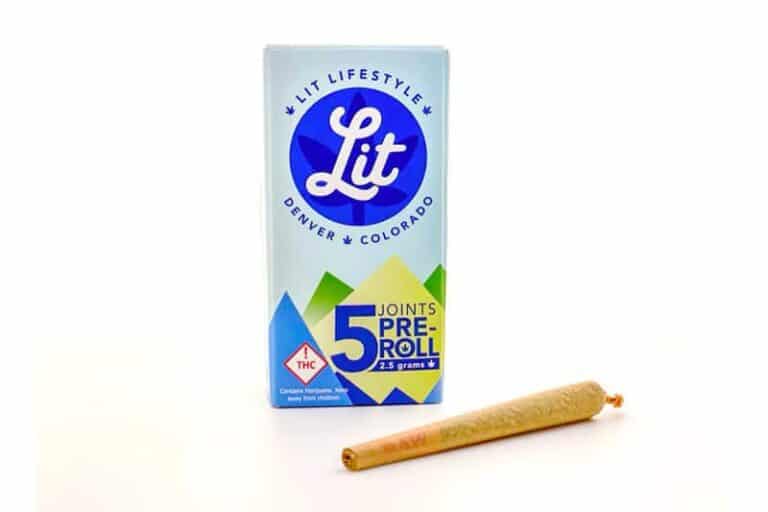
Some nights you just want to skip the whole process, and that is fine. Our pre-rolled joints are ready to go, and you can order ahead online or through the Lit app and pick up at our Federal or Broadway store.
But if you are learning, keep at it. Roll a few, smoke the ugly ones anyway, and by the fifth or sixth you will wonder why it ever seemed hard. And if you want someone to show you in person, ask any of our budtenders next time you stop in. We are always happy to talk shop.
